How to use silkscreens on pottery – a Step by Step Guide
- Crafty Monkey

- Oct 1, 2018
- 2 min read
We’ve produced some lovely items lately using silkscreen and we’re so pleased with the results that we thought we’d be kind enough to share our secrets with you in our step-by-step guide!
Here’s how we made our funky Lambretta plate!
STEP 1
Begin by choosing the base colour for your plate. We chose white because we wanted to give our plate a stripy background so used it as a nice light colour for our first application of paint.

STEP 2
Using a sponge, cover the plate in three coats of underglaze. You’ll need to work quite quickly as you don’t want the paint to dry out completely just yet.

STEP 3
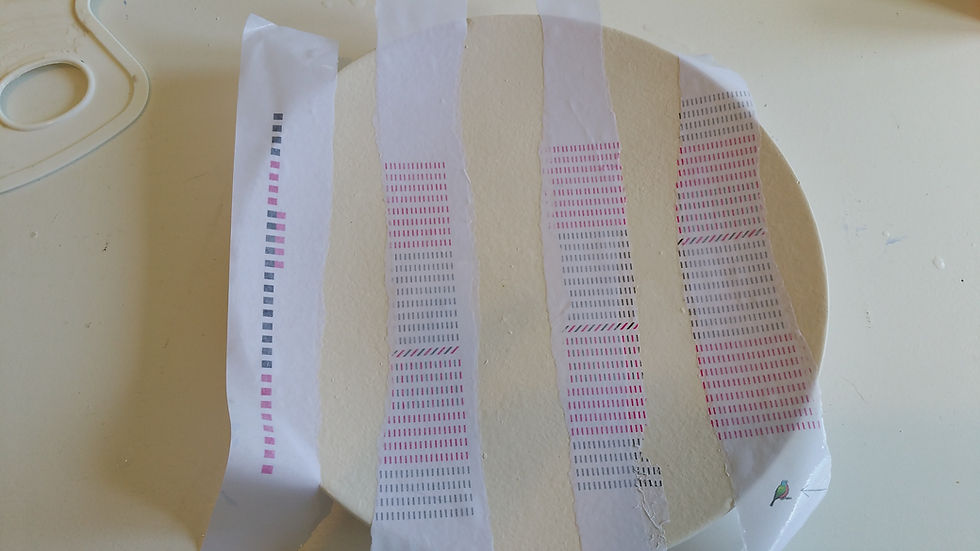
If you’re making a stripy plate like we did, tear up some strips of paper and dunk them in cold water. If you wanted nice neat stripes then you can cut them beautifully, but we liked the idea of having a slightly rougher effect.

STEP 4
Lay the strips onto the plate to form stripes.

STEP 5
Using your second choice of colour, dab the underglaze over the plate, again do three coats. You could also brush the paint on, depending on whether you want a mottled or a block colour effect.

STEP 6
Carefully pull the strips of paper away.

STEP 7
Time to watch paint dry! Ensure your base coats are completely dry before you attempt the next stage.

STEP 8
Take your chosen silkscreen (in our case, a Lambretta) and lay it onto the plate, fixing it into place lightly with low tack masking tape.

STEP 9
Before using a silkscreen, you need to thicken the underglaze up. You can buy professional thickening agents, but we mixed in cornflour which is just as effective. It needs to be the consistency of toothpaste.
.
STEP 10
Apply your underglaze by dabbing it on with your finger. You can also use small dabbing sponges for this if your prefer. Different colours can be applied to different areas of the silkscreen if you prefer.

STEP 11
Carefully lift the silkscreen to reveal your design underneath.

STEP 12
Your plate is now looking fab and is ready to be glazed and fired in the kiln!


Comments